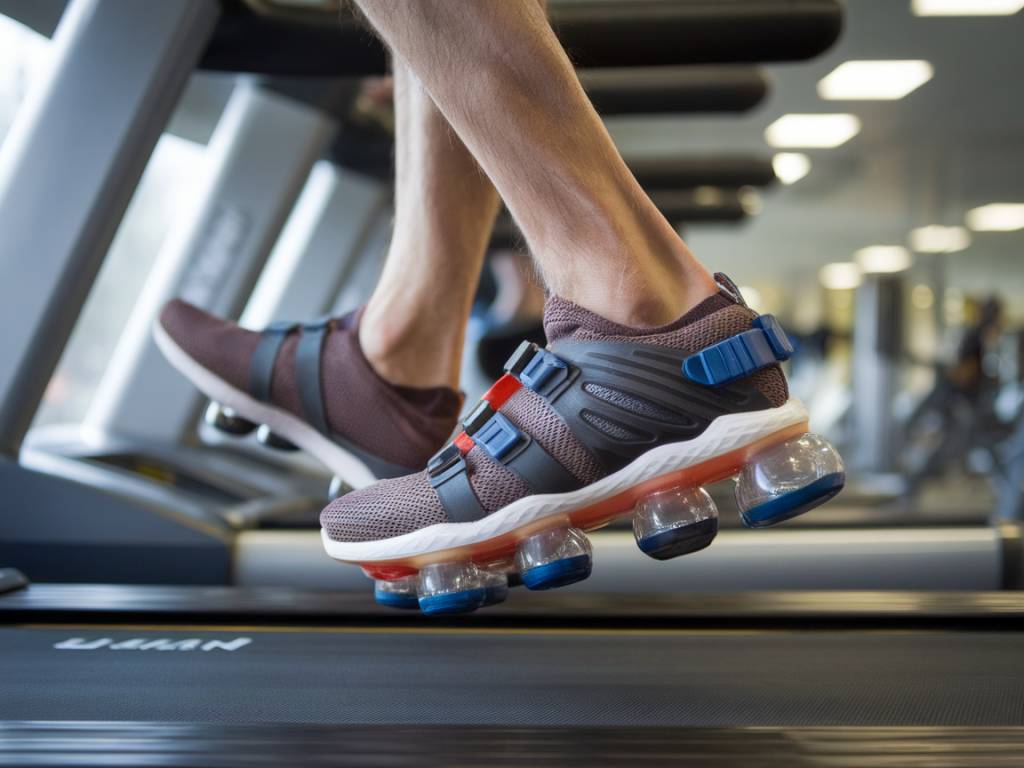
Understanding Your Stride: The Key to Your Perfect Running Shoe
Let’s face it—choosing the right running shoe can feel as complicated as navigating a marathon route blindfolded. With countless models, brands, and features out there, it’s easy to feel overwhelmed. But fear not! The perfect shoe for your unique stride is out there, waiting to turn your runs into smooth, pain-free adventures. The trick? Understanding what your stride needs.
So, how do you choose the right shoe without feeling like you need a PhD in biomechanics? Let’s break it down step by step—pun entirely intended!
Step 1: Know Your Arch Type—Flat, Neutral, or High?
Your arch is more than just the curve on the sole of your foot; it’s the foundation of your stride. Grab a piece of paper and some water—it’s time for the classic “wet test.” Wet your foot, step on the paper, and check the imprint:
- Flat arch: If your imprint shows almost your entire foot, you’re likely an overpronator. This means your foot tends to roll inward excessively while running.
- Neutral arch: If your footprint shows a moderate curve with just the right balance, you’ve hit the jackpot with a neutral stride.
- High arch: If your footprint is more of an outline with a skinny middle, you probably underpronate or supinate—your foot isn’t rolling inward enough.
Knowing this can guide you toward shoes built to accommodate your arch type and distribute impact efficiently.
Step 2: Analyze Your Gait—Do You Pronate?
The way your foot moves through each step is your gait, and it’s a big deal when picking the right running shoes. If you’re not sure where to start, visit a specialty running store that offers a gait analysis (sometimes for free!). These experts will observe your running form, usually on a treadmill, and identify whether you overpronate, underpronate, or have a neutral stride.
Feeling tech-savvy? Many running apps and smart wearables now offer metrics to measure things like foot strike and pronation. It’s like having a virtual coach in your pocket!
Step 3: The Cushioning and Support Debate
Here’s where things can get a little personal. Are you someone who loves the feel of soft clouds under your feet, or do you prefer to feel every detail of the road? Here’s a quick guide to cushioning levels:
- Maximum cushioning: Ideal for long-distance runners looking to protect their joints.
- Moderate cushioning: A versatile option for most runners who want comfort without sacrificing responsiveness.
- Minimal cushioning: Perfect for those who want a lightweight, natural running experience (hello, minimalist runners!).
However, if you’re tackling knee pain or lower back issues, consider shoes with more stability and support to protect your body during those pounding miles.
Step 4: The Right Shoe for the Right Terrain
Not all running shoes are created equal—particularly when it comes to the terrain you’ll be conquering. Are you hitting the treadmill, pounding pavement, or exploring lush trails?
- Road running shoes: Designed for pavement and hard, even surfaces, these shoes typically prioritize cushioning and shock absorption.
- Trail running shoes: Built to handle uneven, muddy, or rocky surfaces. They feature rugged soles and additional foot protection.
- Track shoes: Ultra-light with minimal cushioning for speed and performance in short distances. Perfect for your next 5K or sprints on the track.
Matching your shoe type to the surface you’re running on prevents unnecessary wear and tear on both your body and your shoes!
Step 5: Don’t Forget Fit—It’s Non-Negotiable
Even the fanciest shoe on the market won’t do you any good if it doesn’t fit properly. Next time you’re trying on running shoes, keep these quick tips in mind:
- Make sure there’s about half an inch of space between your longest toe and the end of the shoe.
- Run on a treadmill or around the store (if allowed) to mimic real-world conditions.
- Always try shoes on in the evening—your feet swell throughout the day and will be larger after a workout.
It’s worth noting that sizes vary between brands, so don’t get too attached to the number. It’s all about what feels comfortable during movement.
Step 6: Test Before You Buy—Avoid Regret!
If possible, take advantage of stores with liberal return policies or those that allow a trial period. Some brands even offer a “30-day risk-free trial,” letting you return the shoes after a few runs if they don’t meet your expectations. The best way to know is to hit the ground running—literally.
Step 7: Don’t Let Trends Fool You
That neon-pink shoe everyone on Instagram is raving about? It might look great in photos, but it won’t necessarily match your stride. Fashion and functionality can sometimes overlap, but make sure you prioritize your biomechanical needs over aesthetics. Trust us—your feet will thank you later.
A Little Extra: Replace Your Shoes Regularly
Did you know your trusty running shoes have a lifespan? Most running shoes should be replaced every 300 to 500 miles. If you’re unsure, look for these telltale signs of wear:
- Worn-out treads or soles.
- Decreased cushioning or support.
- Unexplainable new discomfort or pain during runs.
Keeping track of your mileage (yes, there’s an app for that too!) can help you stay on top of replacements before your shoes throw in the towel—literally.
Final Thoughts
Choosing the perfect running shoe is less about following the crowd and more about finding what works for you. By understanding your stride, your arch type, and the terrain you run on, you’re already lightyears ahead in making the right choice. And remember, it’s not just about the gear—it’s about making every run feel like your best one yet.
So, lace up, hit the road, and let your stride shine!
